 |
 |
 |
 |
 |
 |
|
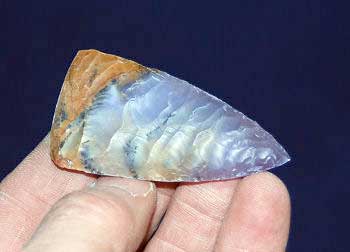
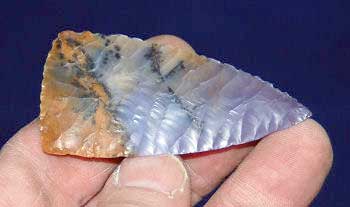
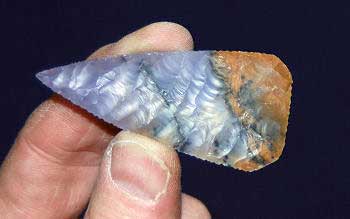
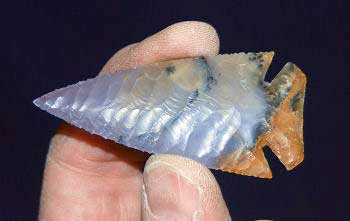
How to Work a Slab by Jim Miller
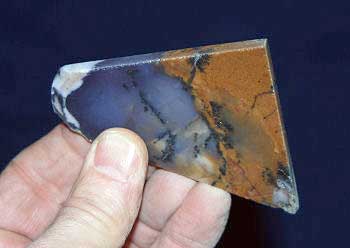
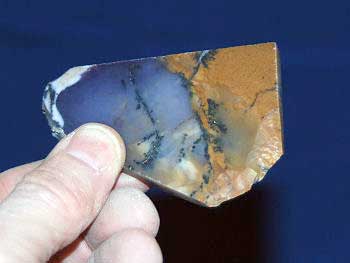
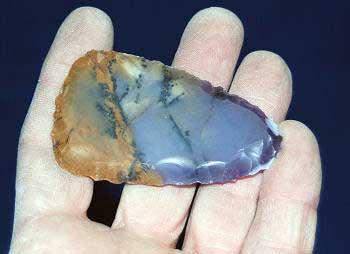
I had a knapper ask that I document how I make a finished point from a sawed slab. So this tutorial demonstrates my method. First I started with a pretty slab of amethyst and sage agate from Nevada. The slab was 1/4 inch thick, which is about as thin as I like to work, unless the slab is real small.
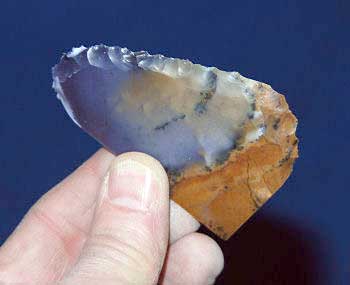
The first step is to get an edge started on a corner of the slab. This is done with steep bevel flakes on opposite sides of the slab.
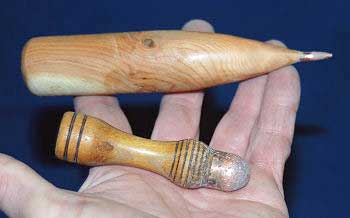
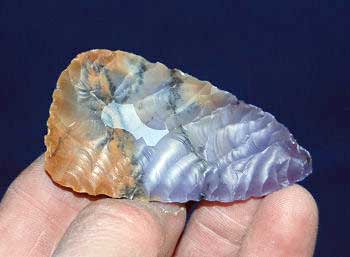
I prefer to use a small percussion tool for edging the slab because it is faster than pressure flaking. But for thin slabs, the pressure flaking tool works well too, and results in less breakage. Here are the tools I use for edging the slab. Once the corner is started, continue to work the edge progressively around the slab by "upstairs/downstairs" flaking. The next two photos show the slab edging 60% complete and 100% complete.
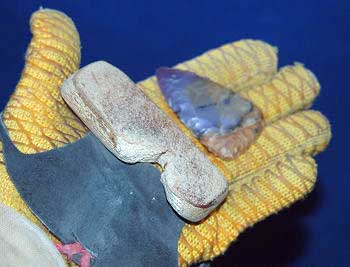
The next step is important. Get the slab preform symmetrical in the general shape you want. If you start with lousy symmetry, you'll end with lousy symmetry. I always do my pressure flaking into a notched piece of wood with a padded glove below to protect my hand. The notched wood allows pressure flakes to detach cleanly without step terminations. This is how my hand pad setup looks.
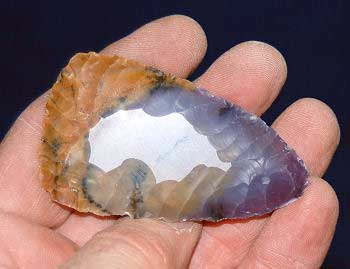
I got a decent flake pattern after the third pressure flaking pass on side 1, and then I prepared the final preform for notching. And finally, the finished point. Despite a lot of steps, it took me a little over an hour to make this point, including taking the pictures.
|
|
©2010 J Keffer |